How To Install A Drip Line Kit For Container Or Raised-Bed Gardens


Lawns and gardens need a constant, reliable water supply. Watering your property with a hose is not always the best way to achieve this. Most landscape experts recommend drip irrigation instead. So what is drip irrigation? It is an efficient, permanent irrigation system. Drip irrigation works by slowly applying water directly to the soil and plants. It is a much more productive way to water plants than a sprinkler system. It's also easier to design and install. Read this step-by-step guide to discover an easy DIY project that will save countless hours of watering by hand.
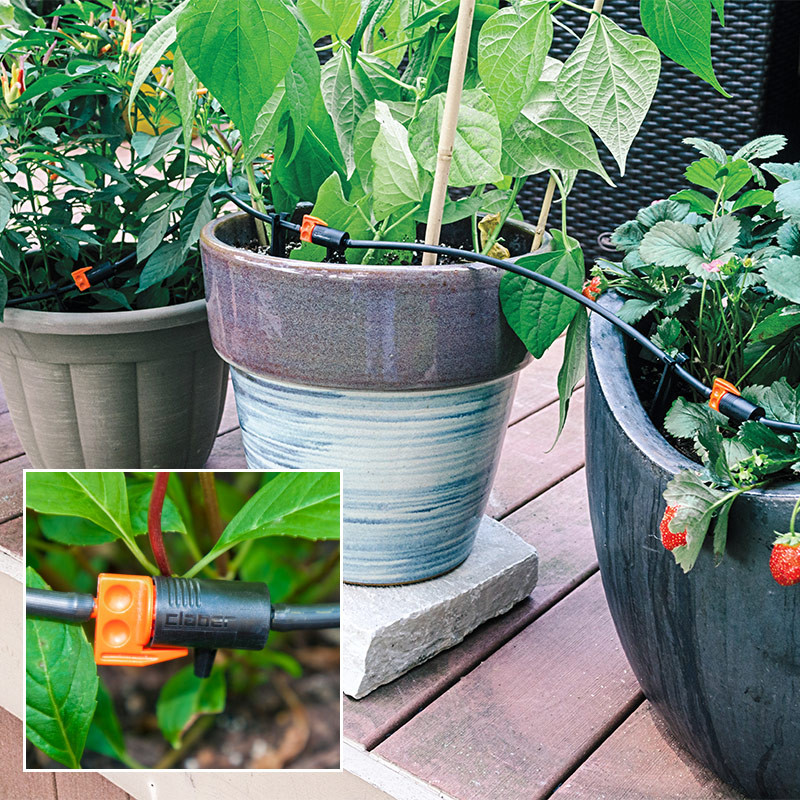
Watering with hoses results in significant water loss through evaporation. By running drip lines to your container gardens, you will save an immense amount of water and be more successful with your container plantings with far less effort. You don't need to hire a professional landscaping team to install your system: You can simply take charge of this project yourself and stop worrying about watering, especially if you add a timer.
Industrial container drip systems have long been used in greenhouses; it's a simple system that works. Most drip systems have a filter that prevents particles from clogging the hoses - cleaning this filter is the only constant maintenance associated with drip systems for your container gardens.
How to install a drip line kit
1. Calculate the layout of your container plants and how many you want to have irrigated.
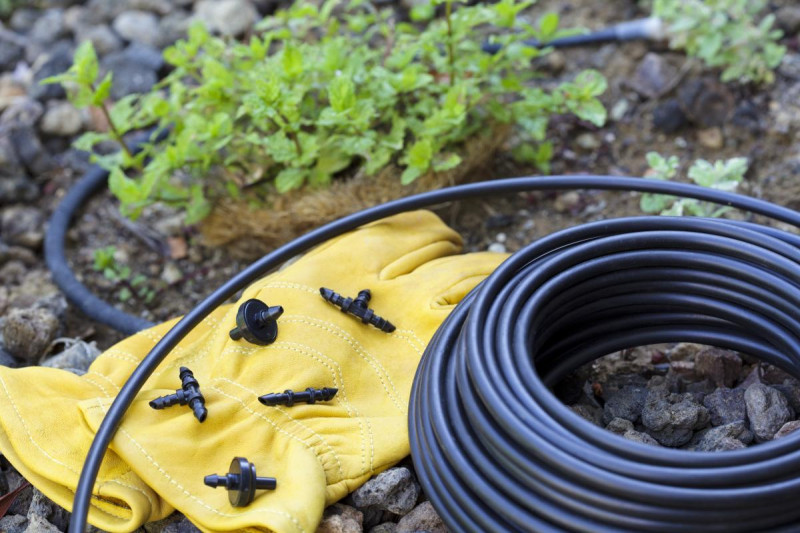
2. Purchase a prepackaged drip system package built for container gardens and that will accommodate your plan. Get a kit that includes a timer, filter, pressure regulator, and anti-siphon device; extra tubing is a bonus as being able to cut custom lengths is important.
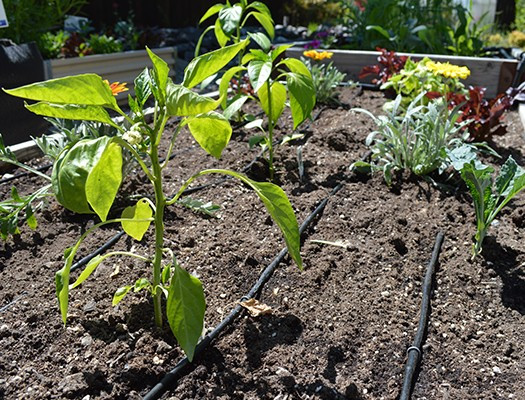
3. Run a drinking water-safe hose from your outdoor water source to the general area where the container gardens will be placed.
4. Water pressure declines if there are too many containers attached to the circuit. Try to build a tight circuit of less than 50 feet with 1/4-inch tubing and a maximum of 12 to 15 gallons per hour of emitter output. Larger tubing enables you to expand your footage and increase emitter output.
5. Once the system is set up, set the timer, check for leaks, and make sure there is enough water being delivered to the plants.
6. Check every few months for clogs and flush the line for up to a minute.
7. Turn the system off and disassemble it during winter months if the weather in your region consistently gets below 35°F.